
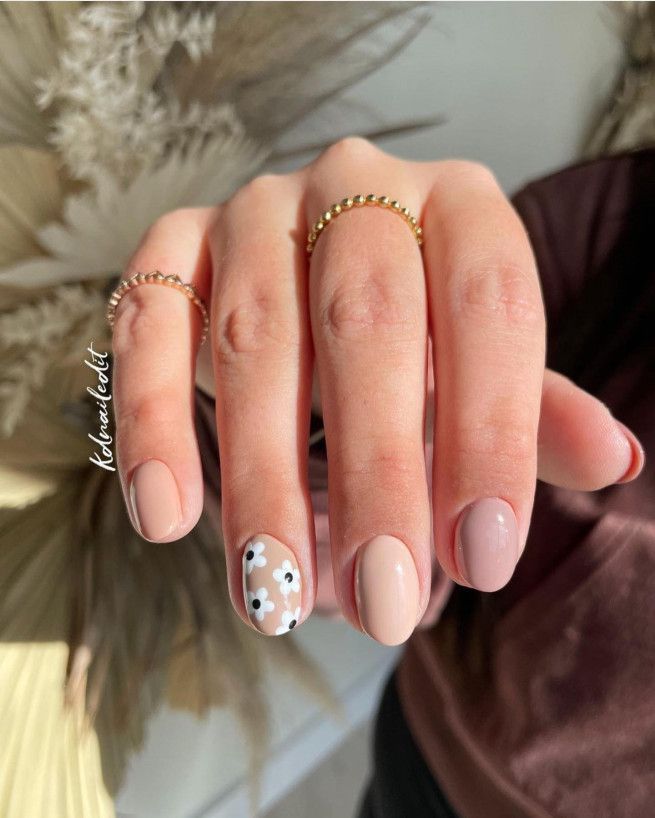
Tips For The Perfect DIY Gel Manicure
If you’re someone who enjoys the luxury of having freshly manicured nails but can’t always make the time or budget for a salon visit, DIY gel manicures are the perfect solution. Not only can you give yourself a professional looking manicure at home, but it also saves you money and time. However, achieving the perfect DIY gel manicure requires a bit of practice and precision. Here are four tips to help you perfect your DIY gel manicure: preparation, application, curing, and removal. Following these tips will help you achieve flawless, long-lasting results each time. Happy manicuring!
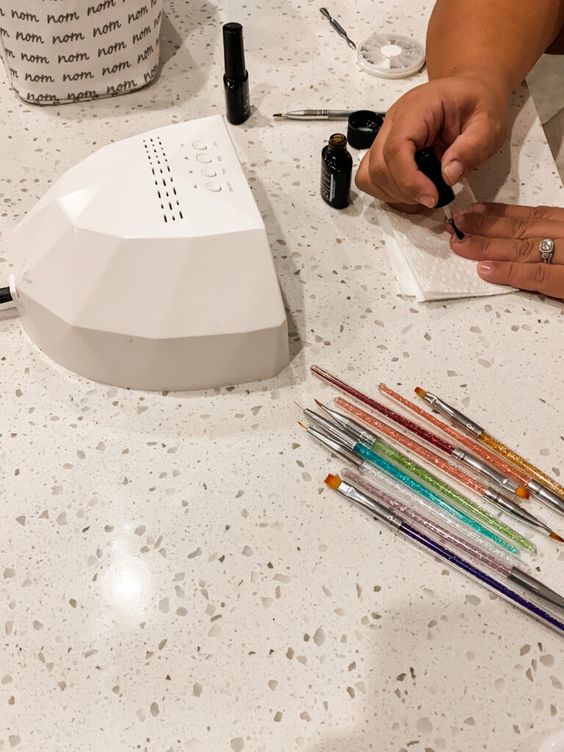
DIY gel manicures are an excellent alternative to making regular visits to the salon. However, the process can be intimidating for those who are not familiar with it. Fortunately, with the right tools and techniques, it’s possible to achieve professional-quality results from the comfort of your home. Before you start, make sure you have everything you need, from a high-quality LED or UV lamp to base and top coats. Remember to follow the manufacturer’s instructions for the specific products you are using, and to apply the layers of polish as thinly as possible. Finally, be patient with the curing process. Give each layer of polish enough time to dry completely under the lamp, and be careful not to smudge your manicure before it has a chance to set fully.
Leave a Reply